How To Iron - T'Shirts & Knitwear
There's will never be an absolutely "right" way to iron but you will get better results if you follow a sensible order.
The advice you may need to iron anything should be within a topic below:
There's will never be an absolutely "right" way to iron but you will get better results if you follow a sensible order.
T-shirts are most often made of soft cotton that's prone to distort during wear and washing. As casual items they don't need the military style finish of formal shirts. knitwear also needs gentle handling and soft finishing.
There aren't many features on a t-shirt or on knitwear, often there won't even be a collar, so ironing is a fairly simple process. Follow the method below, missing out the collar if you don't have one.
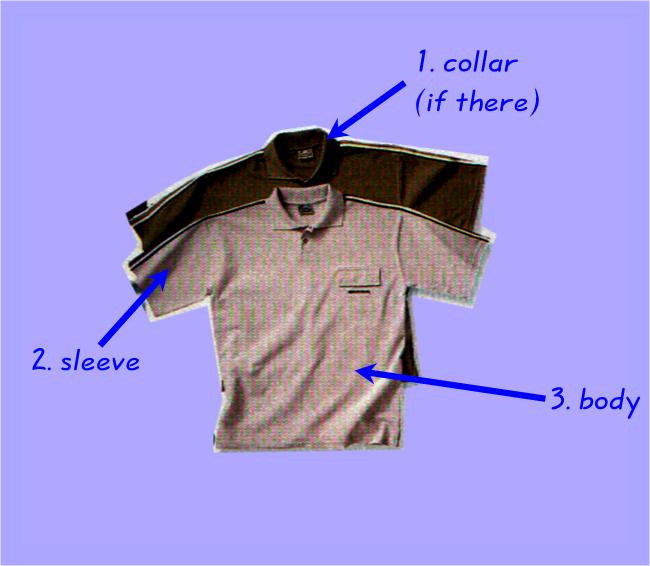
Collar: As with shirts a collar is the first thing ironed on a t-shirt. They would normally be one piece and one layer, the type you can iron from one side to the other with no problems, but there are some which have a stiffening and two or more layers, meaning you have to iron from the outside in (see shirt ironing).
Sleeves: are next and will mostly be short, the difficulty being sorting the distortion that happens because the fabric is so soft.
Body: is the final step just as in a shirt, the reason being that you manipulate the garment more when ironing the rest so if you do the body first you will crease it doing the sleeves and collar.
Never fold and iron a collar or cuff to form a crease, they are meant to be rolled over. The brittle nature of the stiffening will wear them out very quickly if you do.
The main problem with t-shirts is the fabric is easily distorted so you want to ensure the iron doesn't catch and add to the distortion. Make sure the material is flat and put very little pressure on the iron.
Most "polo" style t-shirts have collars which are made in a single layer. They often curve and so if you try to lay them flat they won't. Lift one end of the collar and place the iron on the other end. Guide the iron across the part you have flat. Move on a little bit further adjusting the collar as you iron only that part of the collar that falls flat each time.
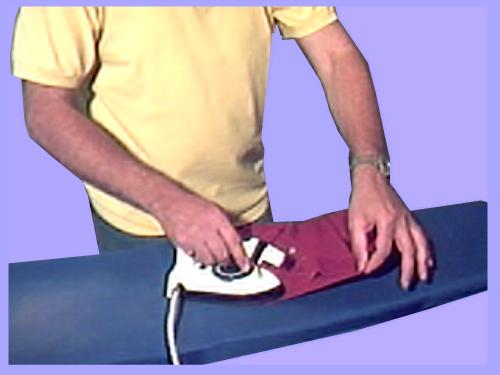
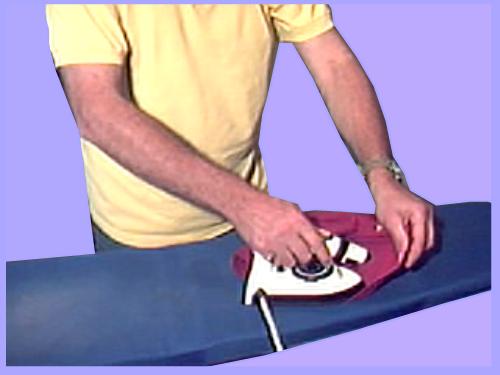
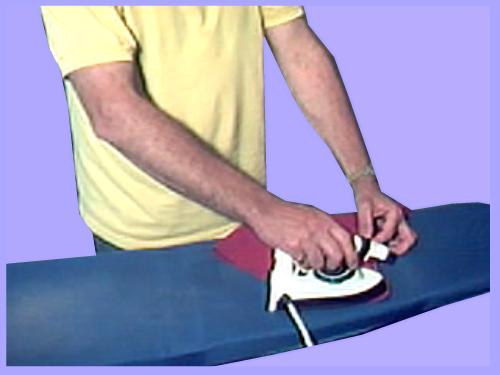
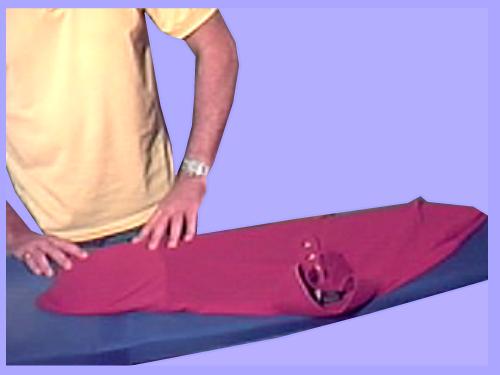
Move the iron from the seam upward just using the weight of the iron. With the second hand slightly raise the sleeve and make sure the underneath has no creases and continue over the upper edge. Move to the next section along and repeat until that side is done. Flip the sleeve over, flatten the sleeve and iron the same way if necessary.
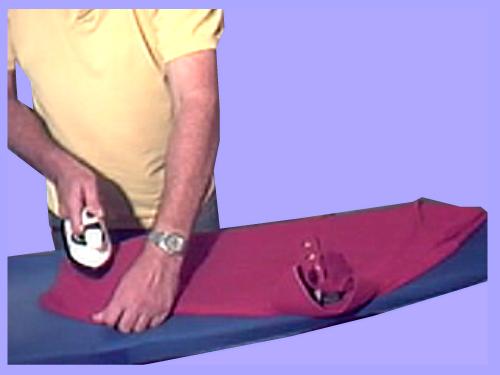
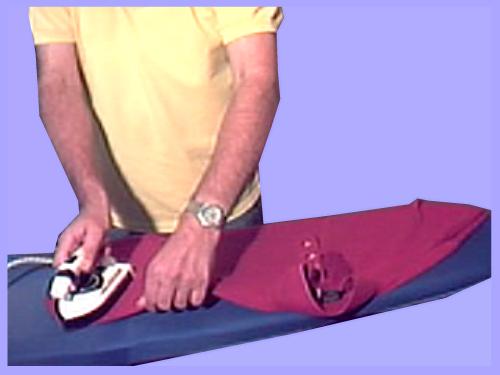
Now do the same with the other sleeve, making sure you have the shirt face up.
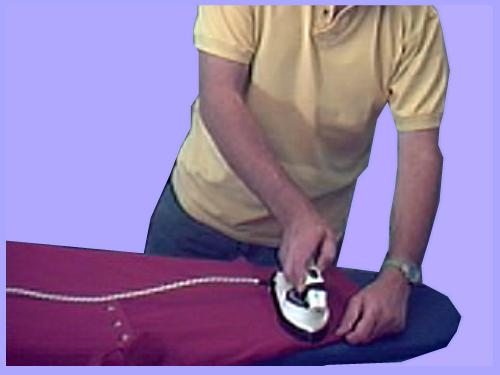
You have to be careful of any printed front as heat will often melt the print and it will then spread over the t-shirt. The soft cotton often warps and distorts out of shape during wear and washing so may be difficult to get flat on an ironing board.
Sensitive hands are perhaps the most important thing an ironer can develop as it helps to feel a fabric to get an indication of how it will behave under the iron.
The set up is the most important part of ironing t-shirt bodies. Begin by ironing any button flap and then the button area. Lay the shoulders flat on the board and smooth the material down toward yourself with the your hands. If you feel any wrinkles you can't see hold the underneath layer at the bottom and slowly pull while placing a hand on the top shoulder seam.
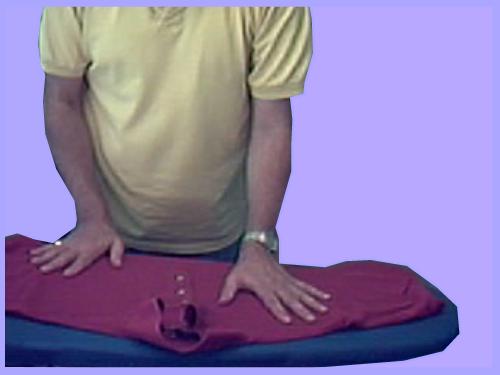
Start ironing by placing the iron next to the top seam and pulling it down sideways, again adding very little downward pressure.
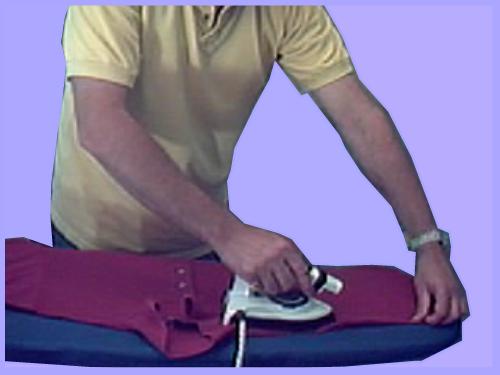
This may cause a wave of material to precede the iron but this doesn't matter as you're pushing it off the board and it shouldn't crease.
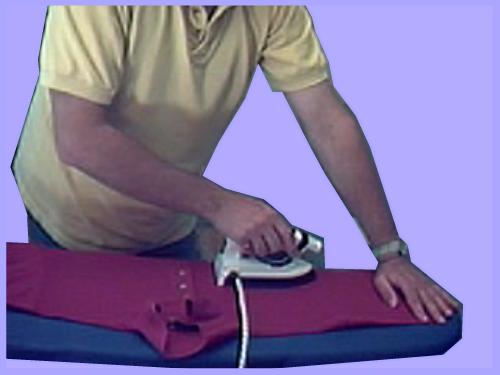
Repeat that movement until you've done the top section and move up to the next section down. Smooth out from the center outwards and down at the same time. Spread your hands to get maximum feel of the cloth. Most t-shirts aren't square and trying to square them will lead to hours of fruitless attempts.
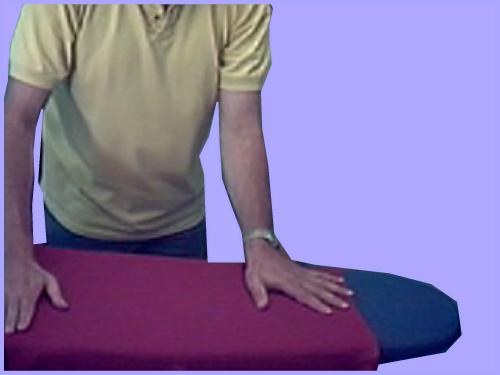
It's best to accept that they won't hang straight after they've been worn and washed a few times and aim to get them "Flat" not "Square" to the seams.
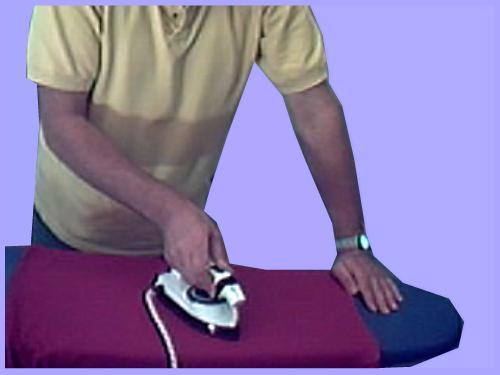
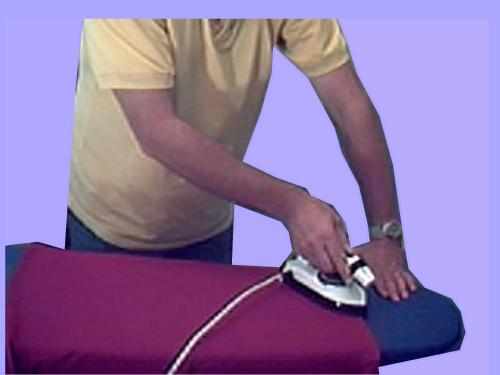
Again, because you have not applied too much pressure you shouldn't iron in any creases.
Move on again and smooth the fabric down. This time iron down sideways toward the bottom of the cloth.
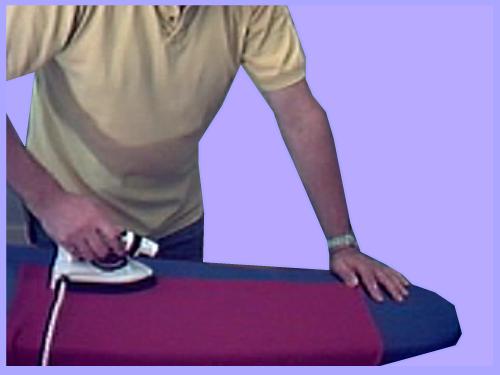
Once more this is to ensure that any roll of cloth doesn't cause a crease so keep light pressure on the iron. Note that hung t-shirts often get bulges on the shoulders because they are made of soft cotton and this warps.
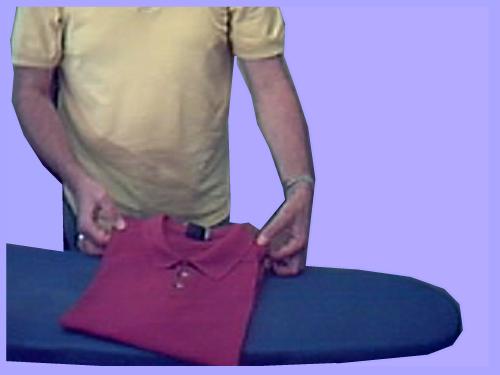
Knitwear is normally made of wool, cotton, acrylic or silk yarns and are loose knitted which gives a soft fluffy handle, good for keeping in the warmth. This also means that heavy treatment is likely to damage the garment and that they are likely to distort very easily.
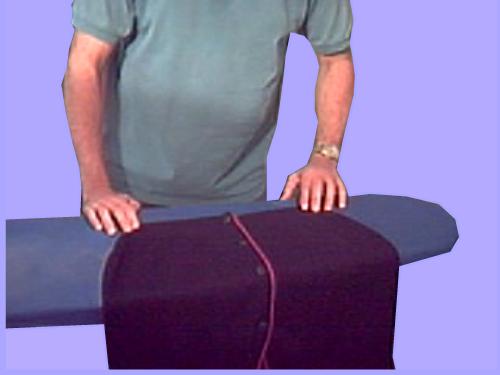
Do up any buttons on cardigans before starting to iron.
It's most important to always get knitwear into position before ironing and to use as much steam as possible to ease the fibres into position, you don't need to and shouldn't press hard on the garment with the iron. Start with the sleeves, flattening from the bottom seam up and smoothing out the fabric on both layers.
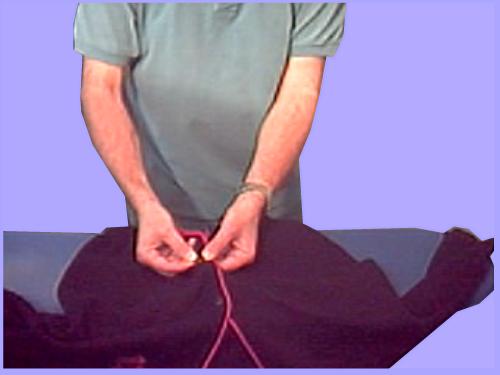
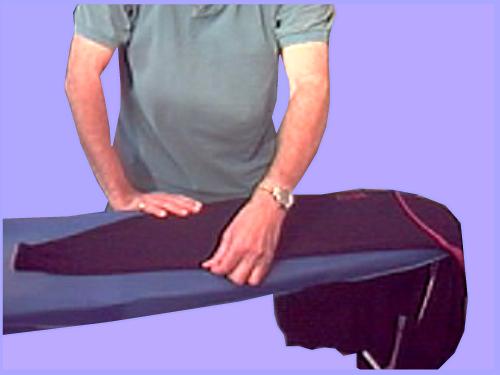
Use a cloth and dampen it well with a spray before ironing lightly. The aim is to get steam to go through to the material softening it in its place. Remove the cloth and feel the sleeve, making sure it's cool and almost dry before moving the jumper. Go on to the next sleeve and do the same.
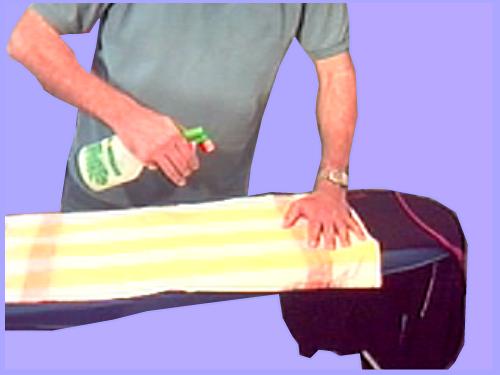
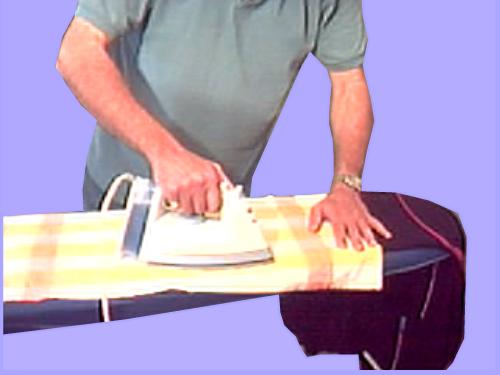
Use precisely the same technique on the body but work from the top seam at the shoulders. Cover, dampen and iron in the same way as before, working toward the top seam. Remove the cover and feel the material with the palms of your hands while it looses heat and dries.
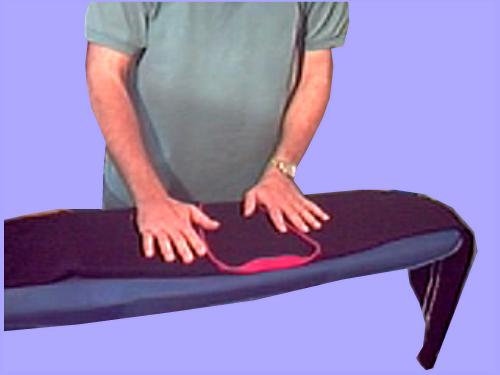
Work bit-by-bit to the bottom but if this is gathered work the iron into the gathering with the iron's point. DO NOT stretch any part of the knitwear that seams to be elasticated while ironing, you may well cause it to stretch with no hope of recovery.
Office:
Pool House
34 Ivinghoe Road
WD23 4SW
|
|
|||

