How To Iron - Dresses
There's will never be an absolutely "right" way to iron but you will get better results if you follow a sensible order.
The advice you may need to iron anything should be within a topic below:
There's will never be an absolutely "right" way to iron but you will get better results if you follow a sensible order.
Dresses are very similar to shirts in the way they are ironed, you effectively start at the top and work your way down in a logical sequence.
Dresses are often more fitted in the body than other garments, forgiving around the bust, narrower in the waist and flaring for wider hips, making you use the ironing board in smaller sections at a time. It's extremely important that you only what you can get flat.
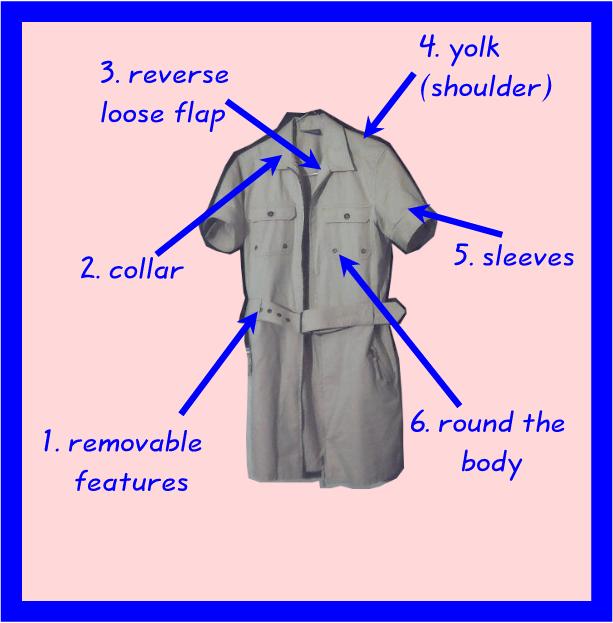
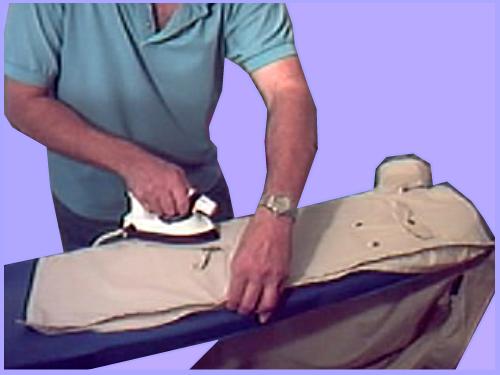
Any removable feature such as a belt should be ironed first then put on the hanger so you don't forget them.
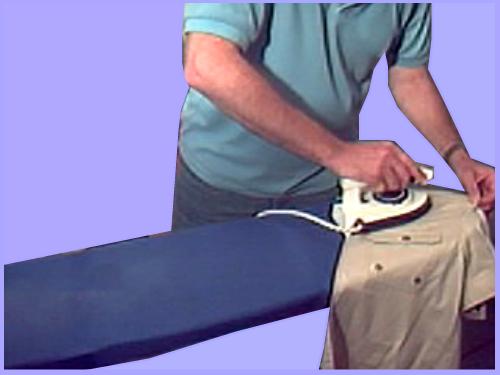
Collars are next (you can look at shirt ironing for tips on correct procedure for different types of collars)
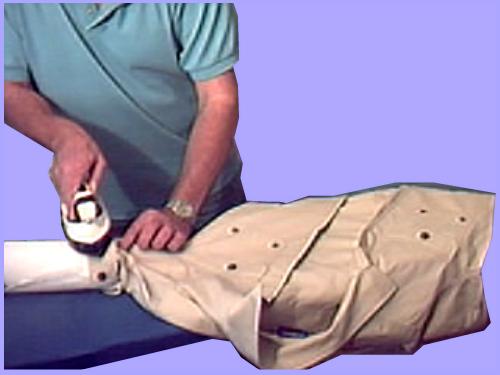
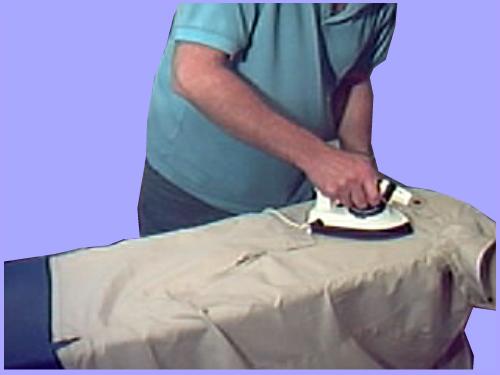
Dresses often have loose flaps on their reverse edge and it's a good idea to iron these so they're flat before doing the body.
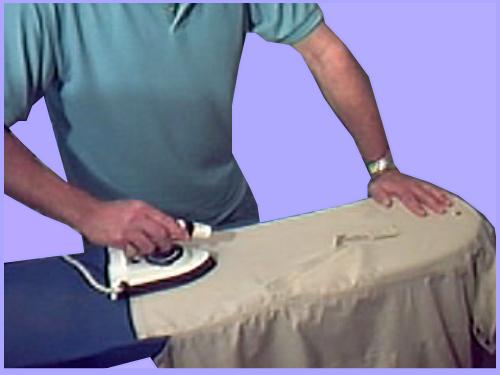
Yolks are the obvious next choice as doing these later would mean potentially creasing another part of the dress.
Sleeves on women's clothes are often meant to be finished round (i.e. without a crease)
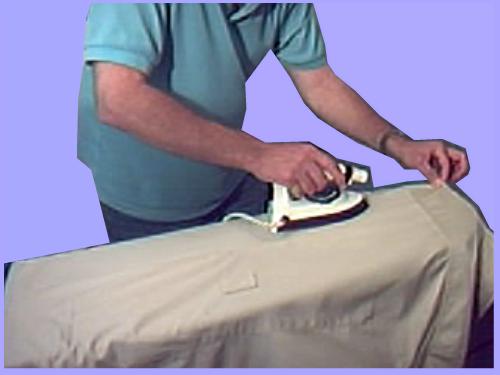
Bodies are done last because you want to move the garment the minimum once the body is done.
Accessories to a dress can be anything, belts, bows and tie backs for sleeves etc. It's generally best to do these before the main dress, it makes sure they are done and means you don't have to manipulate a completely ironed dress for a small feature.
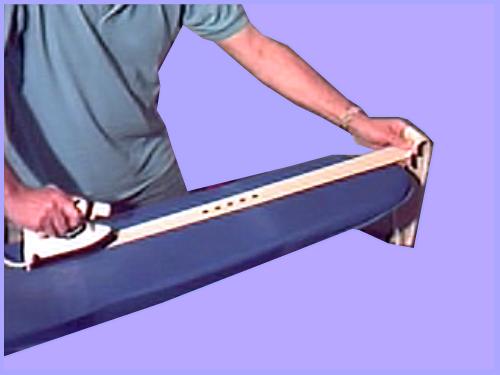
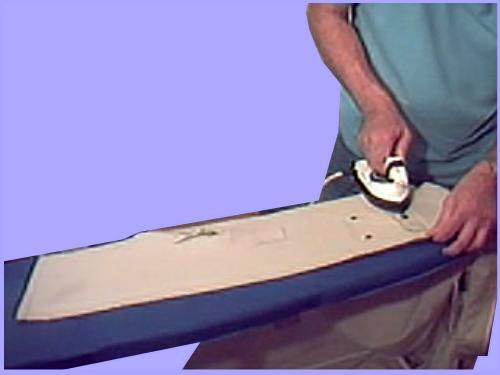
Begin by ironing any removable object, such as a belt. Here we're stretching out the belt by putting the iron on one end and pulling the other. This gives a naturally crisp finish. Normally iron the reverse side of the belt but be careful, if the back is a stuck on strip or if the back is plastic don't iron it.
Other accessories should also be ironed before you do the main dress. Bows that are done up can often be undone and ironed flat and any ties should also be untied and ironed.
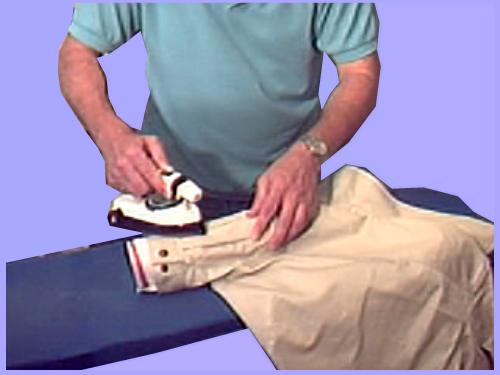
Never fold and iron a collar or cuff to form a crease, they are meant to be rolled over. The brittle nature of the stiffening will wear them out very quickly if you do.
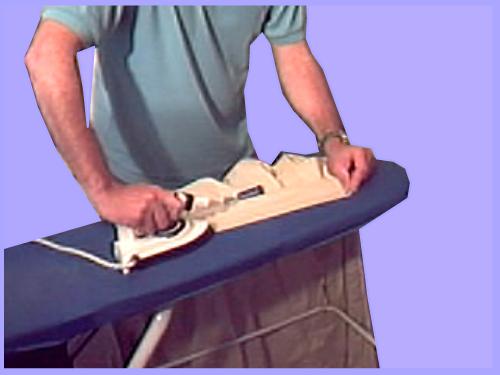
You should now turn to the collar. Run your hand over the collar as if your hand were an iron. If a roll of fabric develops in front of you hand iron from the edge inwards, this would be the same as ironing an unfused collar on a shirt. Otherwise go from left to right, while all the time pulling the opposite end with your free hand.
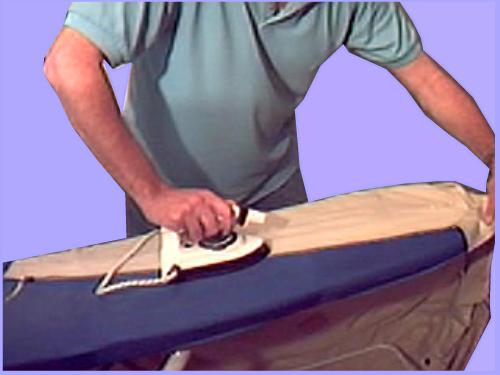
Often there will be a flap of loose fabric on the inside edge of a woman's blouse or dress. Iron this from the edge inwards, making sure the underneath is flat before you put the iron to work.
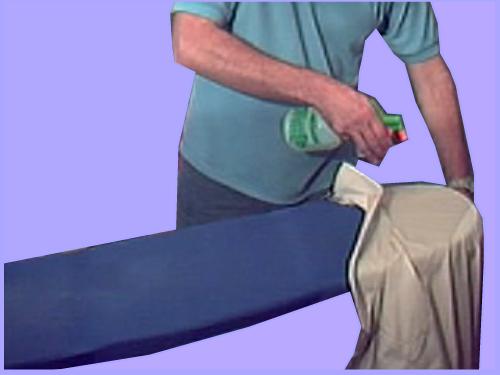
Position one side of the yolk (shoulder) on the edge of the board so you can get it totally flat. Don't try to get too much on the board or you'll not be able to get it flat. If necessary spray the material with water first. Iron from the edge of the yolk towards it's center and repeat for each edge and each side.
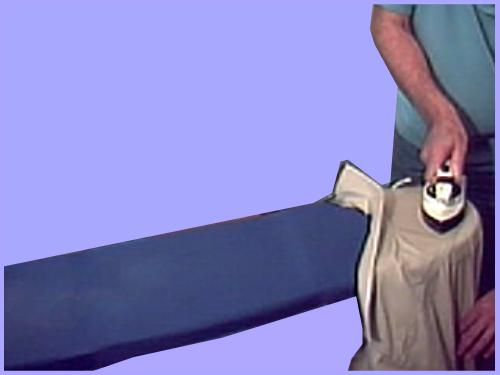
The problem with the sleeves on a dress is that they may not fit on a normal board if they are in any way fancy or, as in this case, they are short and rouched. You (or the wearer) may also prefer a sleeve without a crease in the upper edge, in which case you will have to use a sleeve board or our suggested solution below.
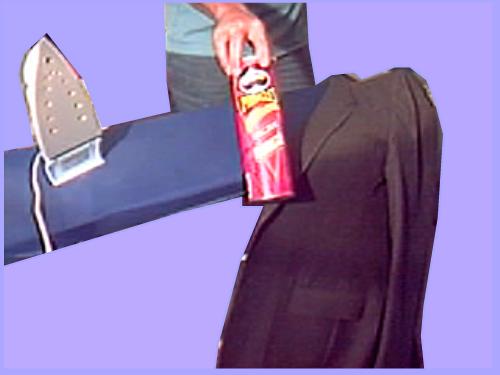
Before we go on to the arms we need to improvise and create a new type of ironing board. Take a Pringles tin, rolling pin or wide brush handle and wrap about three layers of kitchen towel around it. You now have a sleeve board that will fit and can be made to fit awkward areas.
The principal is to iron narrow strips at a time. A flat surface may be better than a roubd one, but both will work - it just takes time and dilligence.
Do the cuff part first (if there is one) and then manipulate the tube to do the rest of the sleeve. This takes practice but you can iron all of the sleeve well with just a covered tube as a board.
Once again, the key is to only do small area at a time. If there are pleats in the sleeves hold them in place as you see here and iron to where you think it looks right.
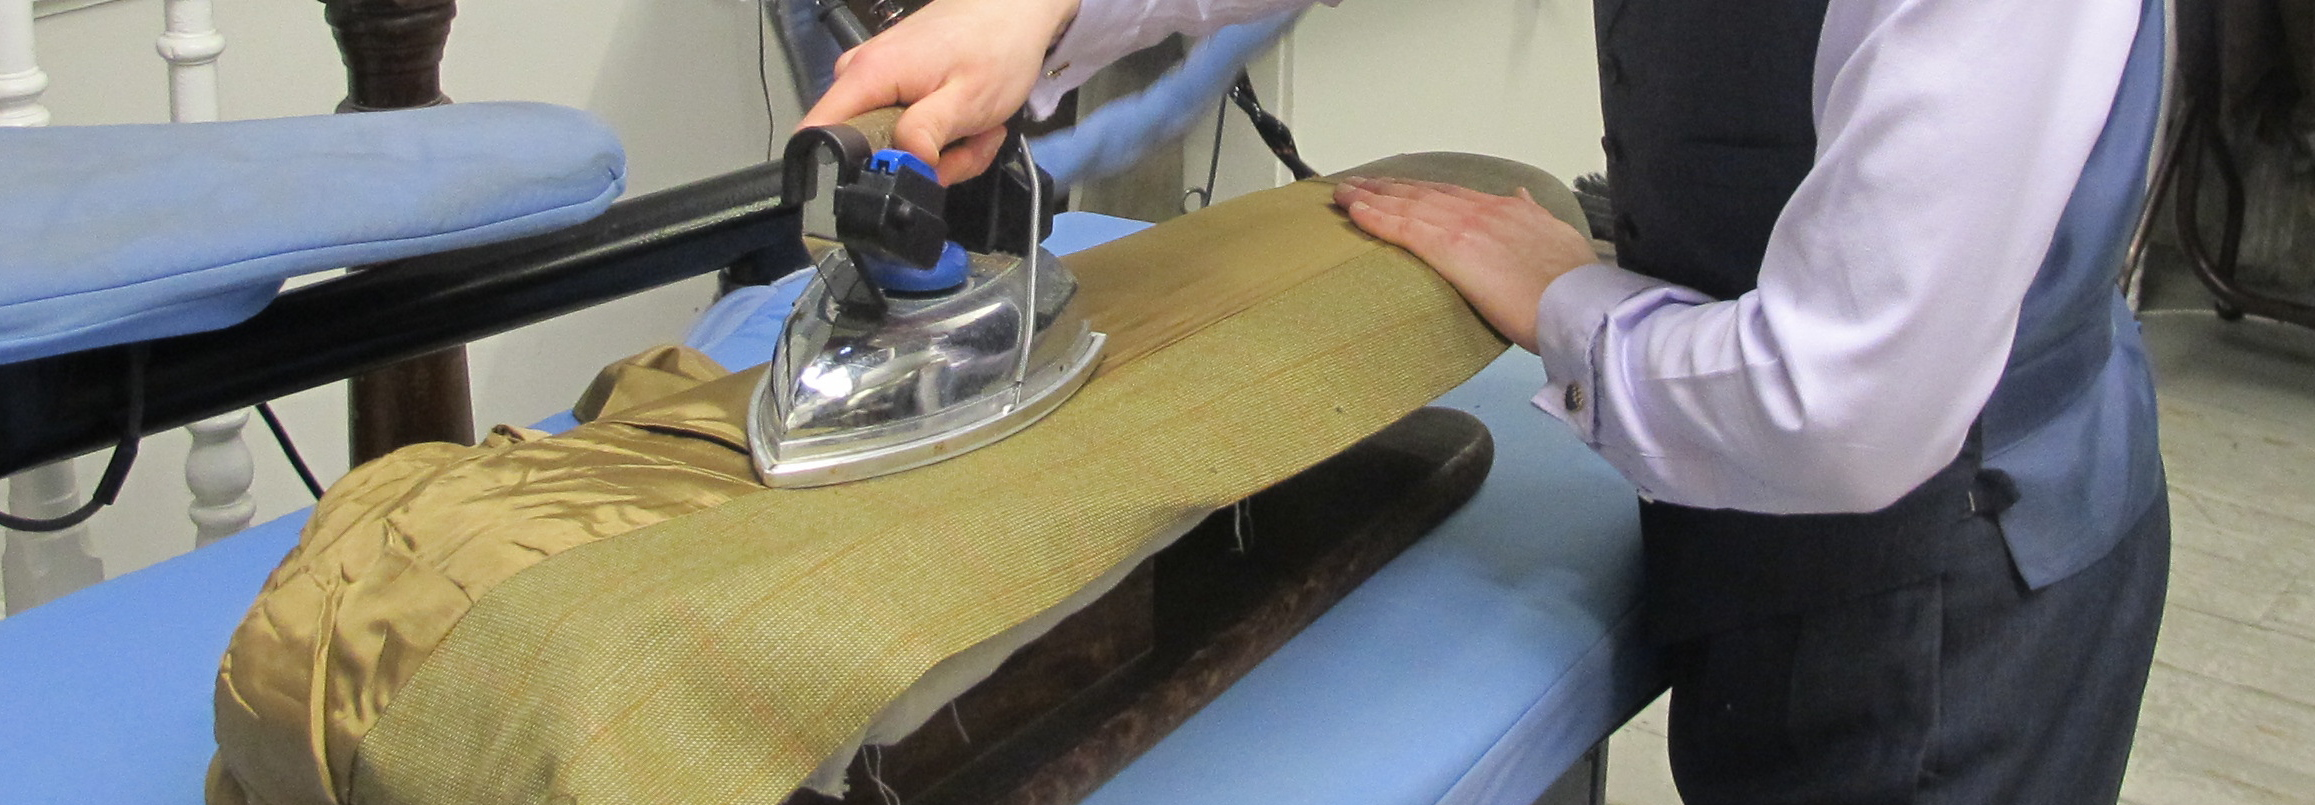
The body will have to be positioned to get the fabric flat. Here we've put the shoulder section at an angle to get to the top section. We've then re-adjusted the dress to iron the under-arm area. you will have to adjust to suit your own dress so be prepared to be flexible.
Keeping to the same side move to the bottom of the dress. Then move onto the first section of the back. Notice how both hands are always working in unison to manipulate and smooth the fabric over the board.
Continue moving round the dress body finishing with the right hand side. If there are any pockets or features stretch these as you do them and move any linings away from where you're ironing and continue to move around the board with your body, don't stand in one place.
Office:
Pool House
34 Ivinghoe Road
WD23 4SW
|
|
|||