How To Iron - Trousers
There's will never be an absolutely "right" way to iron but you will get better results if you follow a sensible order.
The advice you may need to iron anything should be within a topic below:
There's will never be an absolutely "right" way to iron but you will get better results if you follow a sensible order.
The order below has been devised over years of ironing all types of trouser, from designer suits to jeans, so start from here and when you feel competent feel free to adapt it to suit your own particular requirements.
Ironing trousers is more fiddly than ironing shirts or flatter items, as there are odd features such as pleats and pockets. This means you're ironing less of the garment at any one time - adding steps to the job and extra movement.
So long as you're prepared to move your body around the board this shouldn't present a problem..
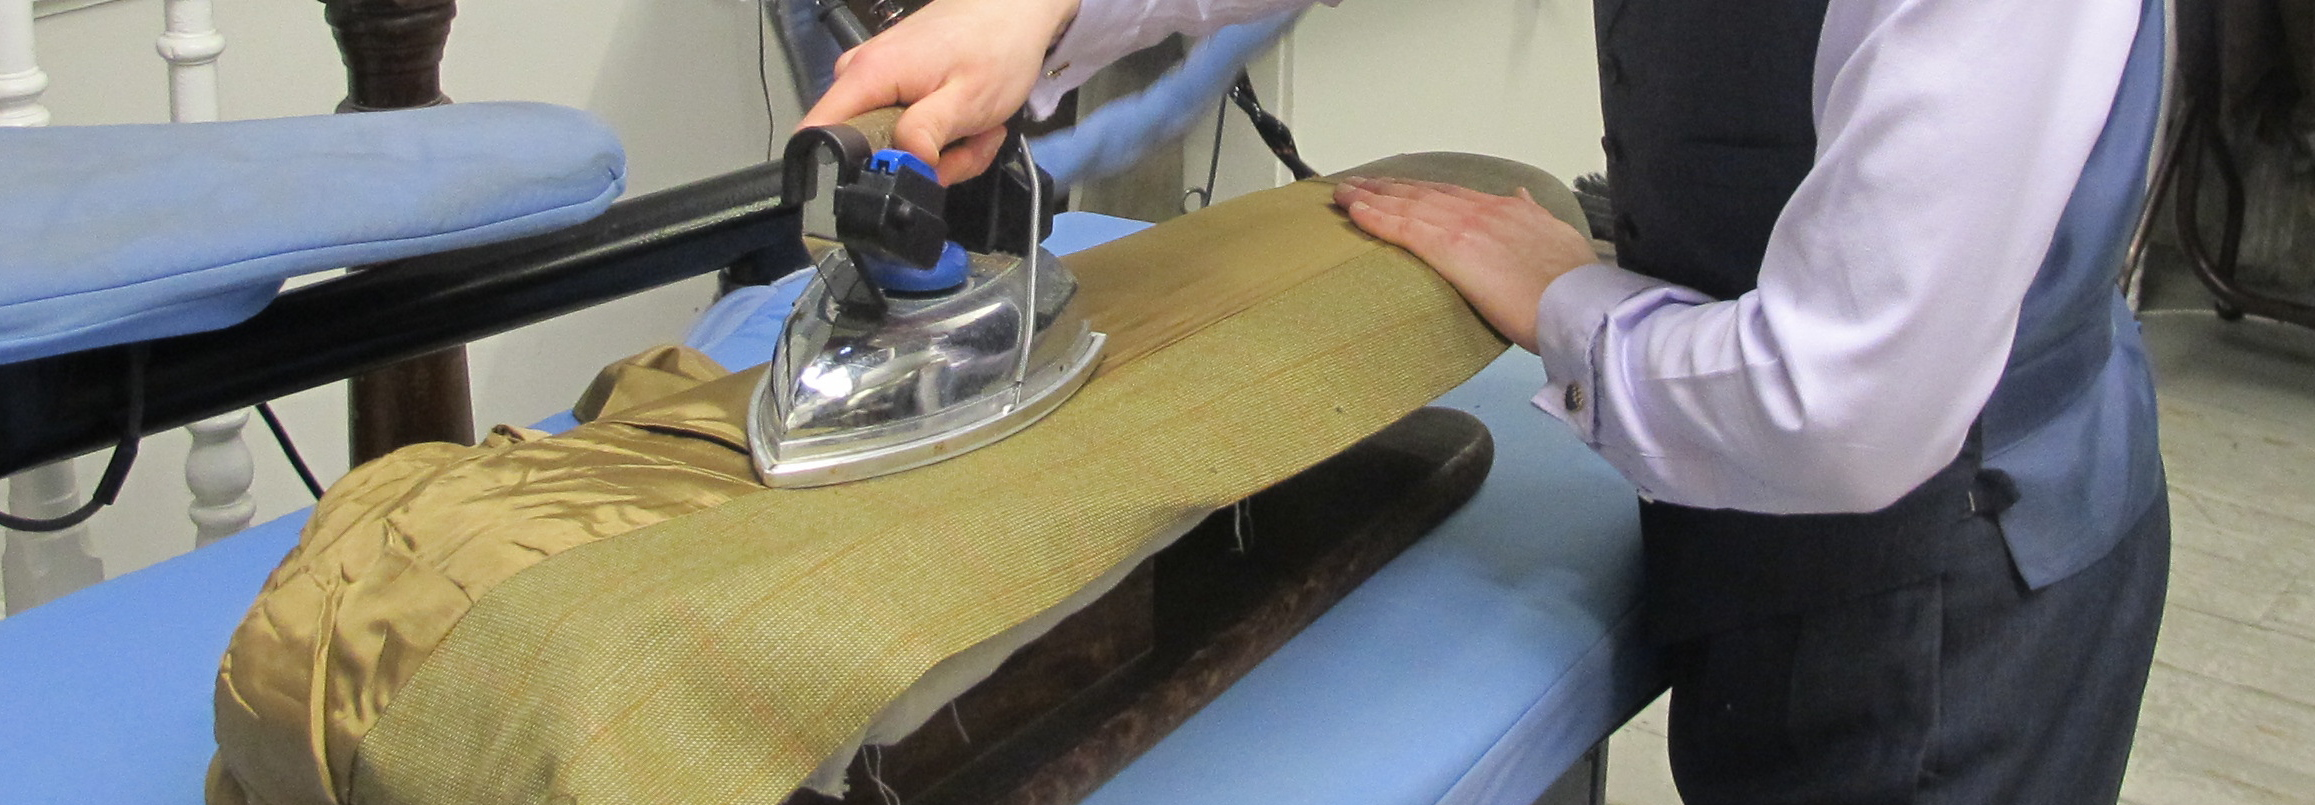
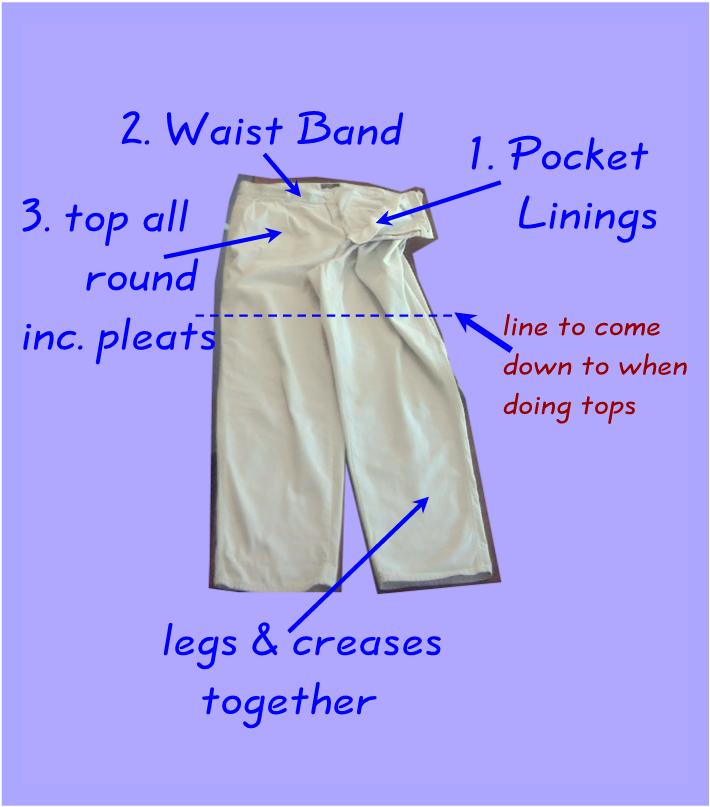
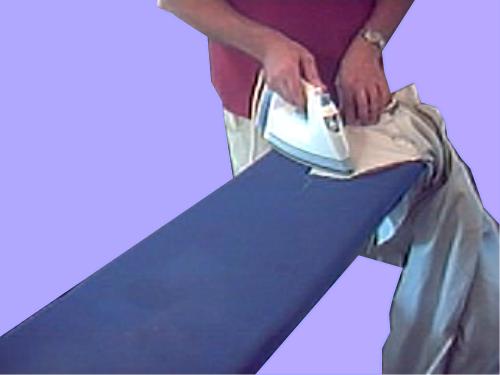
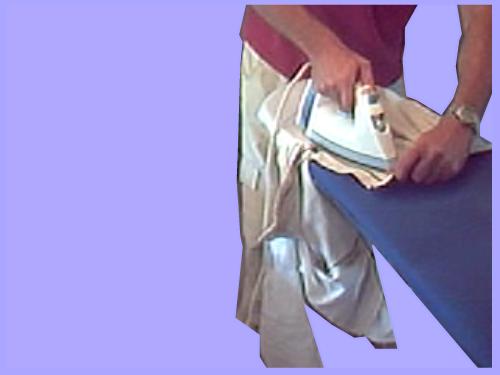
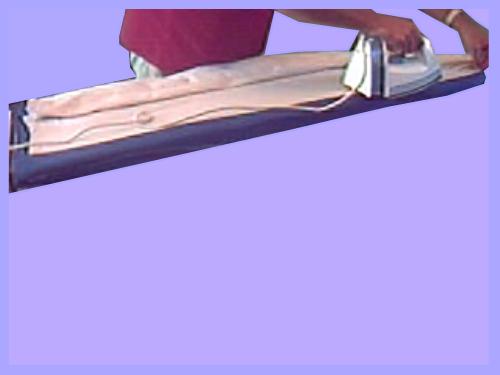
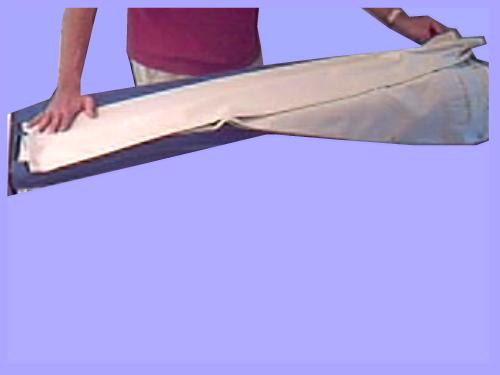
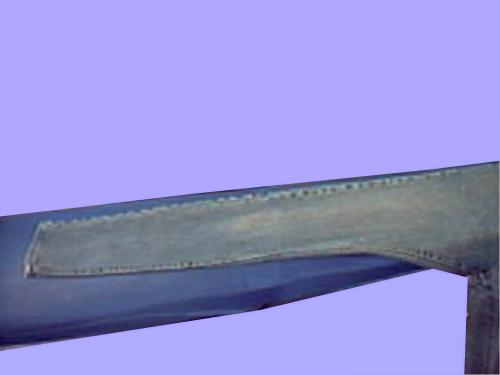
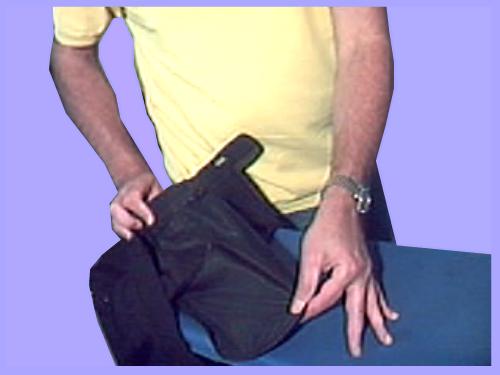
Iron the pocket linings first, otherwise when you do the rest of the trousers if you iron the lumps and bumps you might cause a shine that you don't want. Notice the body position toward the end of the board, making it easier to get the lining flat and the iron in position.
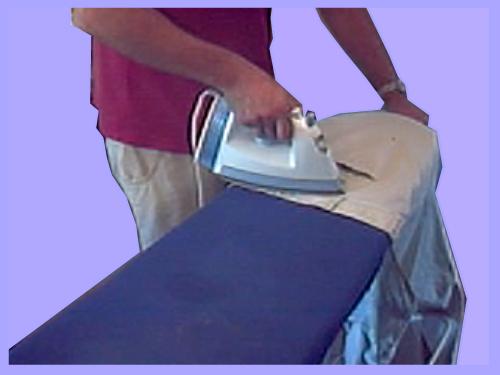
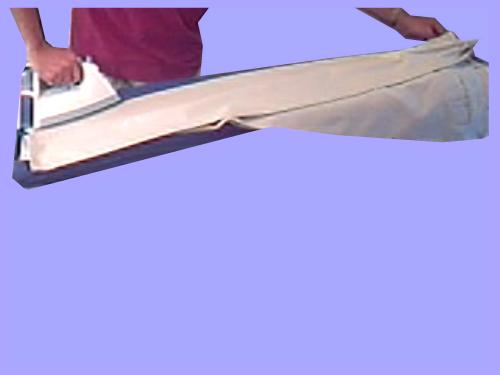
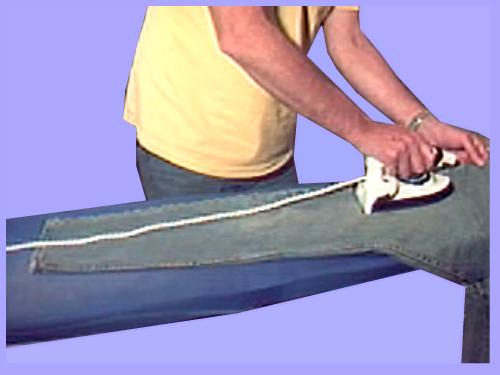
The inside flap of the fly is next, simply flatten, hold down with the iron and pull the opposite end, sliding the iron towards your hand
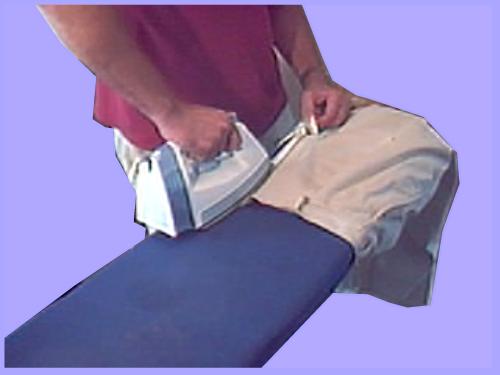
Next iron the waist band remembering to flatten and stretch the waist before using the tip of the iron.
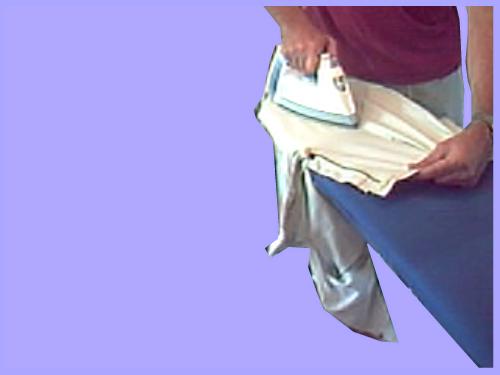
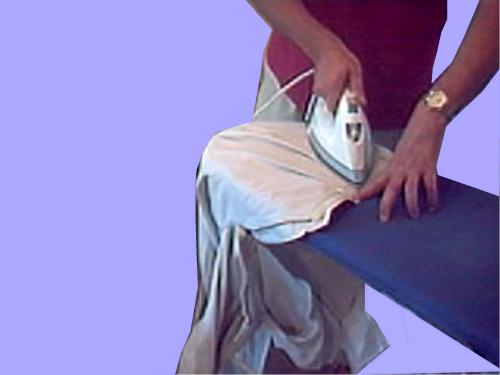
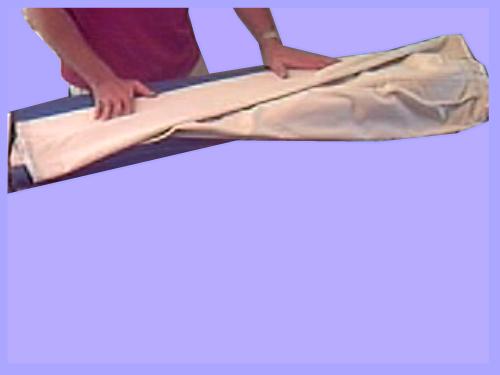
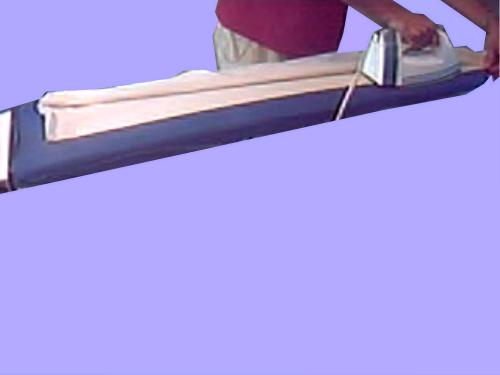
Now place the trousers on the end of the board and stand at the end. Flatten the top and pulling lightly with the other hand.
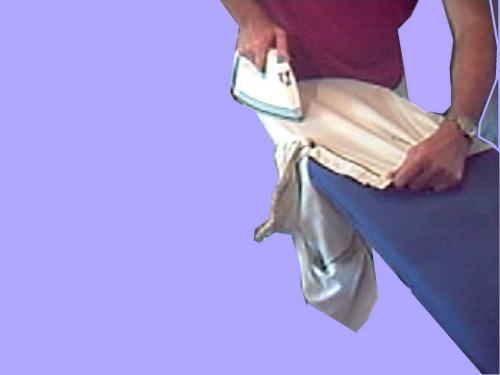
Pulling raises the top slightly. Steer the iron towards your fingers in a straight line stopping just before the waist band.
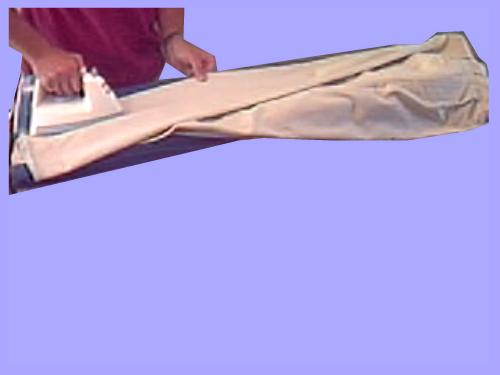
Move on slightly and repeat. If there are pleats iron into them while you raise the top, make sure you move the pocket lining aside before ironing.
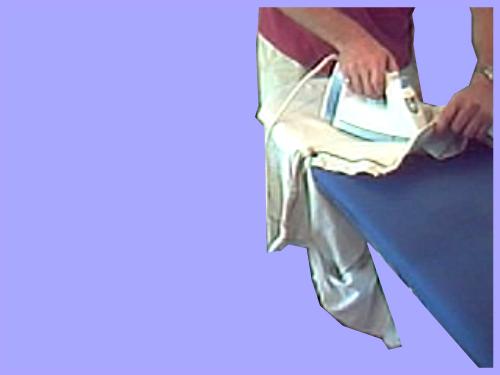
As the iron approaches your hand make sure it flattens the fabric and stop about 1/2 inch before the end of any pleat.
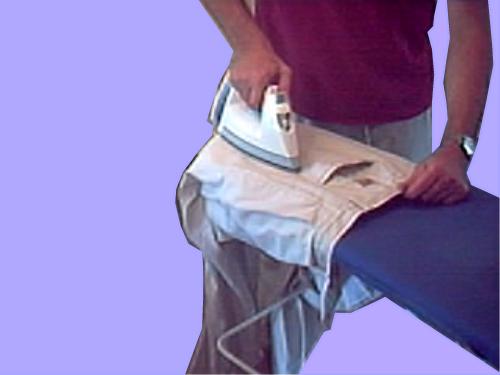
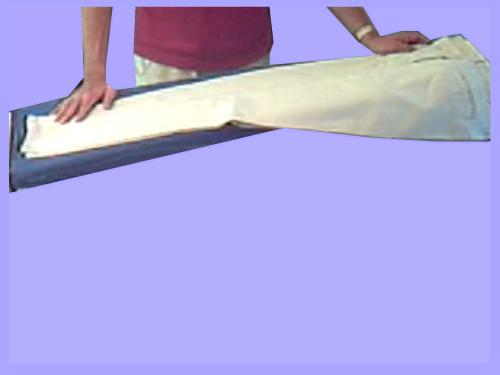
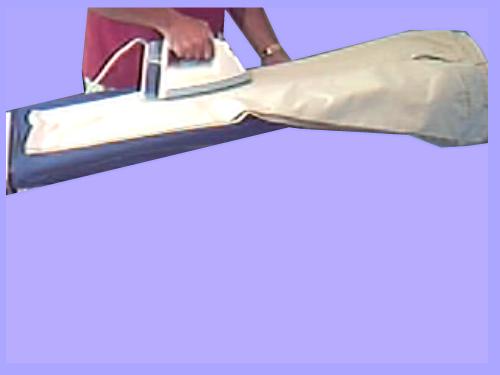
Next move to the pocket area and again pull with the other hand, being careful not to iron over any pleats yet.
Get any pleats into their proper position and then iron from left to right or right to left, depending on the direction of the pleat. Only clip the tops of the pleat, don't iron them completely in.
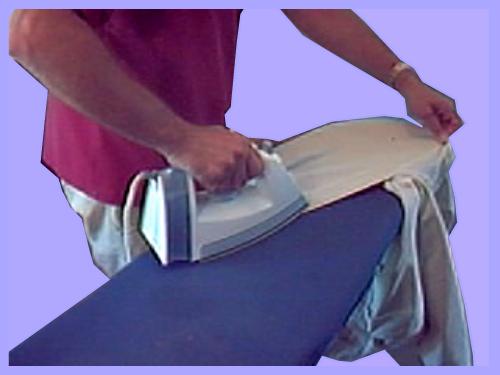
Continue to the rear of the trousers, ironing the waist band first. If there is a pocket iron up to and around the feature.
Then change your body position and pull the pocket top and iron and then move the iron sideways from the waist band to the top of the pocket.
Keep moving around the trousers in the same direction finishing with the upper flap of the fly. You may have to iron in from the edge of the fly flap towards its centre, otherwise you may press a crease into the edge.
The most important factors in making ironing easy is body position. Standing in one place and trying to iron all of an item is like playing tennis rooted to one spot. Move around the board so you can reach the part you want to iron without stretching or having to turn your arm into knots in order to get the iron into position.
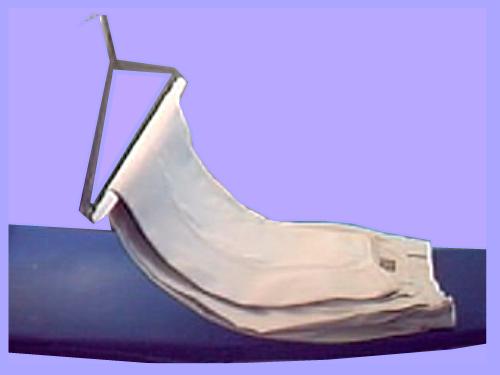
Start the legs by grouping together the four seams and flattening the legs so the folds at the front and rear represent where you want the creases to go.
Get both legs together and grab the front of the trousers at the bottom where the creases will be. With a finger and thumb pinch where you want the creases to be at the top and if you have pleats tuck a finger and thumb into both pleat tops.
Now stretch the creases and lay the trousers down with the crease away from you. Roll back the top leg just past the center seam and smooth out the lower leg with both hands, making sure there are no folds of cloth underneath. The crease should run straight from the bottom into any pleat. You're now ready to start ironing.
Place the iron on the crease with the point of the iron just to the left of it.
Move the iron in one movement from the bottom right up into the pleat at the top.
All the time use your other hand to ensure the crease stays in place while you iron.
Now work the iron backward toward the seam smoothing the material as you do so and using the other hand to roll any unwanted material from the underneath by grabbing the back crease lightly and pulling the lowest layer backward.
Roll the top leg back into place and while you keep the legs together slide the trousers forward, so that the rear creases are fully on the
Now roll the top leg forward just past half way and smooth the rear crease from the center seam to the back of the trousers. This makes the bottom leg totally flat.
Iron from the seam backward smoothing the fabric as you go. The aim is to keep the leg flat all the way from front the crease to back.
Keep guiding the fabric with the other hand rolling any excess material from the underneath of the leg. Finish the crease around 2" from the waist band.
Roll the top leg back in place. Grab both legs by the front creases and flip the trousers over so the front crease is now facing you. Now roll back the new top leg (which should be the leg you have already done) just past the center seam. Smooth out the bottom leg the same way you did for the first, ensuring you work from a straight crease backward, then iron right into the pleats.
Once done roll the top leg back into place, move the trousers forward and roll the back of the top leg just past the center seam.
Smooth out the rear of the leg from the center seam out to the crease.
Iron out from the seam making sure the material underneath is flat and stop 2" from the waistband.
Put the legs back together again and look at the top leg. Any residual creasing should now be ironed away from the top. Make sure you don't iron over the seam as this could make it shine.
Once satisfied grab the trousers by the front creases and flip them over again. Check the top leg for residual creasing and iron if necessary.
That effectively finishes the trousers. Put them over a hanger and check that the legs are flat from front to back where they go over the hanger. The crease should be at either end of the leg, they shouldn't roll and be positioned on the upper or lower surface.
If they are you haven't smoothed out the legs properly. Don't worry, this does take practice and a certain feel for cloth, simply smooth out the fabric better next time checking the underneath layer with your hands to feel for any lumps.
Lay one leg of the trousers flat and face up on the board. Smooth out the leg.
If the knees are bagging because of excessive stretch keep smoothing the fabric out with both your hands.

Place the iron next to but not on the seam. Run the iron up and across the trouser leg using both hands to ensure that the lower layer is flat too. If there is a baggy knee move the iron in from the edges making sure you don't create a crease by "rolling" the material.

Once you've done the front of the leg flip the trousers over and do the back. Then repeat the process for the other leg.
When you've finished both legs fold the trousers in half with the button undone and the crotch forward. Place them over a hanger and they should stay neatly pressed without creasing.
Pressing formal trousers is precisely the same as pressing trousers with creases. This section is primarily concerned with stopping any chance of shining that can occur with wool, viscose and vivid coloured cottons. The illustration is of dinner suit trousers but all suits and similar styled trousers should be treated the same. We'll initially consider various areas and the specific problems that can occur when ironing formal trousers.
Fly: Here we have a few problems. If you iron over the zip below you will shine the fabric along that line. If you iron over the actual zip pull you will create a very bad shine. Finally the fabric is double and if you iron from one side to the other you may leave a crease on the side you finish.
Waistband: Often waist bands are badly creases as they bend when you bend over or sit down. Shining will occur if you iron hard without a damp cover.
Pleats: Most formal trousers have pleats at this time and ironing over these without protection would cause shine. Actually ironing while covering them is a problem sorted out below.
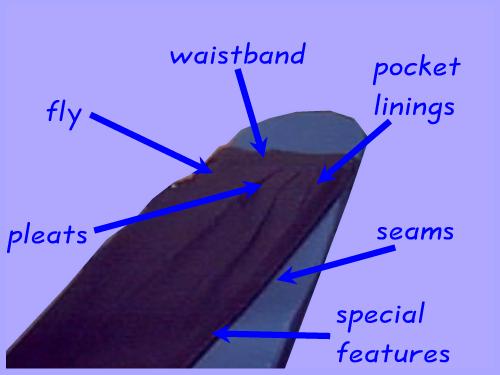
Special Features: In this case is the shiny stripe down the side of the trousers but could be any addition, like braid. You should avoid ironing most and always iron with a covering cloth. Seams: will shine if ironed over. Instead start next to a seam. Pocket Linings: cause problems if ironed over. You should proceed the same way as with ordinary creased trousers, first topping them and then going on to the legs. Simply use the following steps as a precaution against shining.
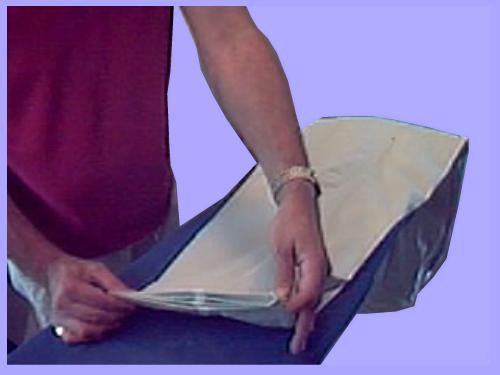
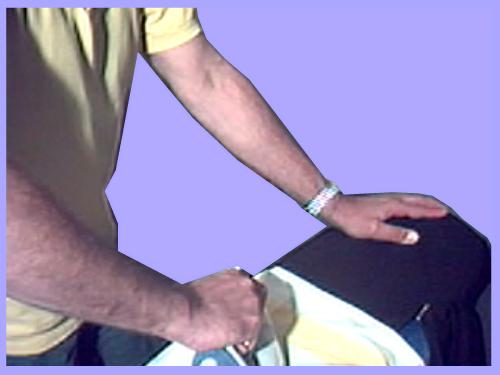
When topping the trousers make sure you position any pocket linings so the iron won't go over them by mistake.
Simply reach inside and pull the lining away from where you're going to iron.
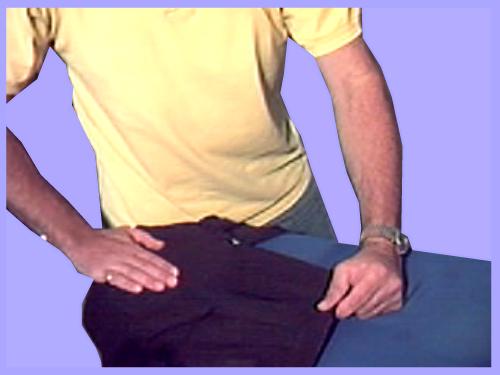
Use your hand as a practice iron and position your body so you can reach without straining.

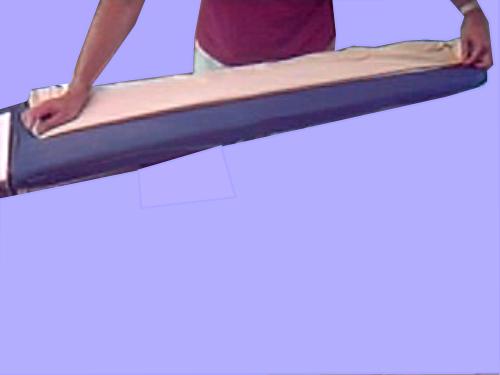
Place your hands into the position you would iron then move your hands as if ironing.
Lift the waist band and move you hand right into any pleats, ensuring that no material wrinkles causing a crease.
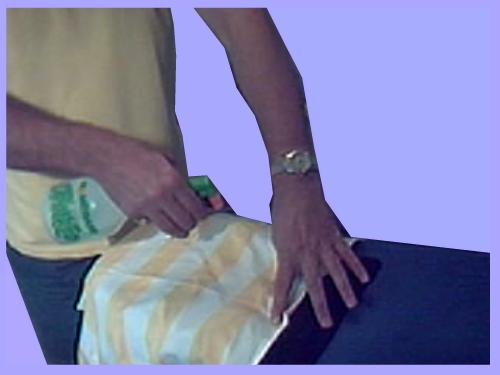
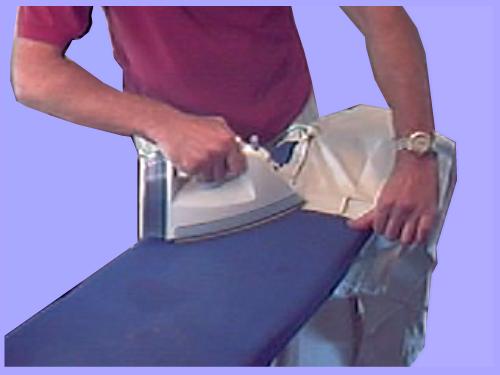
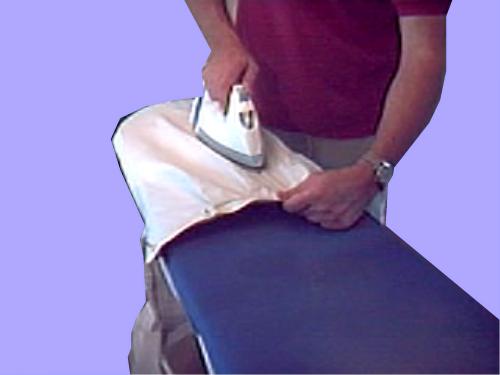
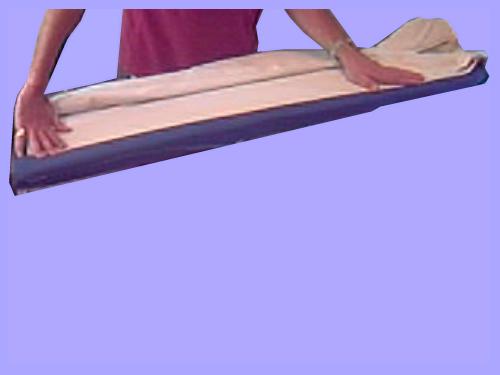
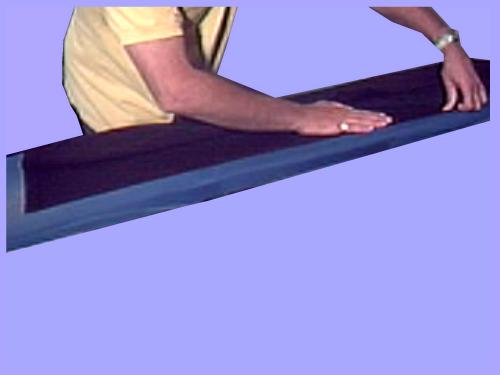
Once you're happy that the iron will run smoothly place a lint free cloth over the area. Make sure the cloth is flat and spray it with water, making it damp. Lifting the waist band as you did before iron in exactly the same way as you practiced with your hand. Don't iron anywhere else as you don't know it will stay flat, you haven't rehearsed your movement.
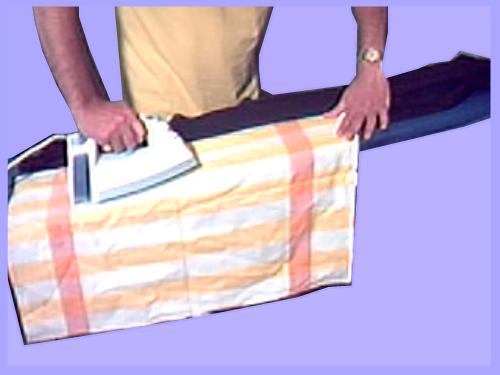
In these pictures we're doing the pleats at the top. Notice the position of the damp cloth. The second hand is holding the crease folded so that it keeps the pleat in the right position. We're not ironing that far down but the crease must be held in or you will put the pleat in the wrong place.
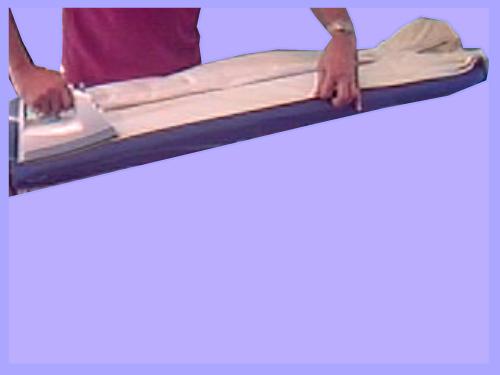
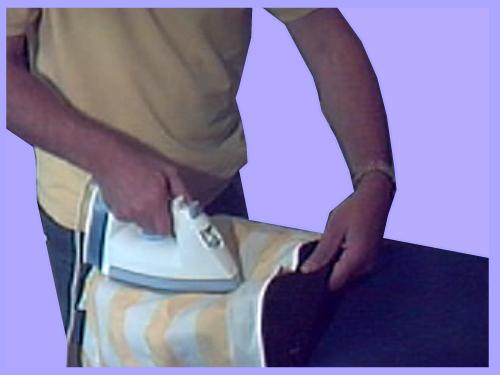
Now go onto the leg do this in exactly the same way any leg with a creases (or no crease if appropriate). Smooth the fabric with both hands setting the crease first then working back to the seam.
Place the cloth on the trousers, dampen and then iron using the same method described in the previous section
Keep on and complete the trousers in exactly the same way as you would if they weren't formal trousers. Just place the cloth in position before ironing. When doing formal trousers your hands are your eyes, they feel for wrinkles underneath the cloth all the time. Use both of them and if in doubt don't check again before ironing.
Office:
Pool House
34 Ivinghoe Road
WD23 4SW
|
|
|||